
Latte Art
Master the art of drawing on coffee: techniques, patterns, and secrets to create perfect designs.
The Art in Coffee
Latte Art is the technique of creating designs on the surface of espresso-based drinks using steamed milk. More than just decoration, it's the visual expression of the barista's skill and an indicator of the drink's quality.
The technique originated in Italy, but it was in Seattle in the 1980s-90s that it gained worldwide popularity. Today, it's a fundamental part of specialty coffee culture, with championships dedicated exclusively to this art.
Mastering latte art requires constant practice, understanding of ideal milk texture, and precise movement control. Basic patterns include the heart, rosetta, and tulip, but the possibilities are endless for creative baristas.

Milk Texture
Creamy microfoam with imperceptible bubbles, paint-like consistency.
Espresso
Consistent and golden crema for perfect visual contrast.
Pour Height
Varies according to phase: high to mix, low to draw.
Speed
Constant flow and precise movement for pattern definition.
Fundamental Technique
1. Espresso Preparation
Extract a quality espresso with consistent and golden crema. The crema is the "canvas" where the design will be formed, so it must have good consistency and color.
2. Milk Steaming
Position the steam wand slightly below the surface to create the proper vortex. The goal is to incorporate air in the first few seconds and then homogenize the temperature.
3. Ideal Texture
The milk should have a "paint" consistency - creamy, shiny, and without visible bubbles. The ideal temperature is between 60-65°C to preserve natural sweetness.
4. Pouring Technique
Start pouring from a higher height (5-7cm) to mix milk and espresso. Gradually, bring the pitcher spout closer to the surface to start drawing.
5. Flow Control
Maintain a constant and controlled flow. The pouring speed and hand movement determine the design's definition.
6. Finishing
To finish the design, cut through the pattern with a quick and precise movement, creating contrast and definition.
Heart

The most basic pattern and starting point for beginners. Requires:
- Pour milk in the center of the cup
- Maintain constant flow
- When the cup is almost full, slightly lift the pitcher
- Cut through the design with a quick movement
Rosetta
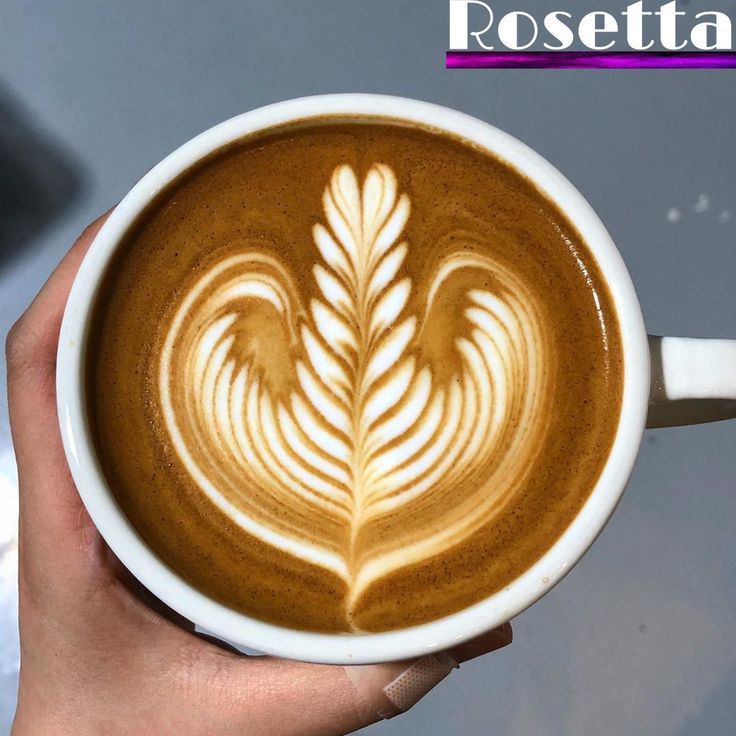
Intermediate pattern that creates a shape similar to a leaf or fern:
- Start pouring in the center
- When the white base forms, bring the pitcher closer to the surface
- Start a side-to-side "back and forth" movement
- Slowly advance in the opposite direction from the barista
- Finish with a straight cut through the center
Tulip
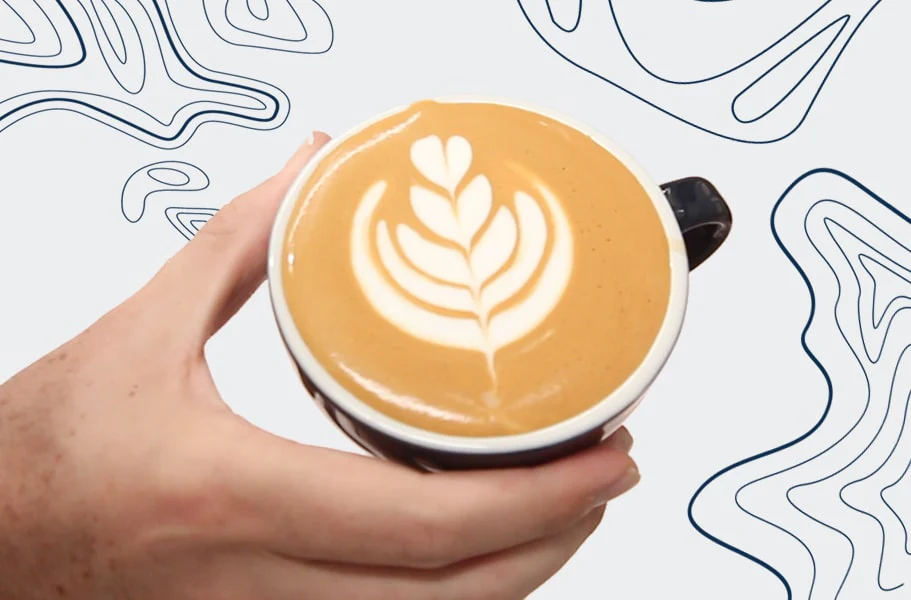
Advanced pattern that combines heart elements in layers:
- Pour a small white base in the center
- Pull the pitcher back creating a small heart
- Repeat the process 3-4 times, each time slightly above
- Finish with a smooth cut through the center
Perfect Steaming
Positioning
Insert the steam wand slightly off-center, at an angle that creates a vortex.
Aeration Phase
In the first 3-5 seconds, keep the steam wand close to the surface to incorporate air.
Texturizing Phase
Submerge the steam wand to homogenize the temperature and refine the texture.
Temperature
60-65°C is ideal. Above that, denatured proteins affect flavor and texture.
Common Mistakes
Overheated Milk
Results in burnt flavor and grainy texture. Use a thermometer until you gain sensitivity.
Large Bubbles
Caused by excessive or incorrect aeration. Tap the pitcher lightly on the counter to eliminate them.
Pouring Too High
Prevents the formation of defined designs. Bring the pitcher closer to the surface.
Abrupt Movement
Causes distortions in the design. Practice smooth and controlled movements.
Advanced Designs
Swan
Combination of rosetta with neck and head manipulation.

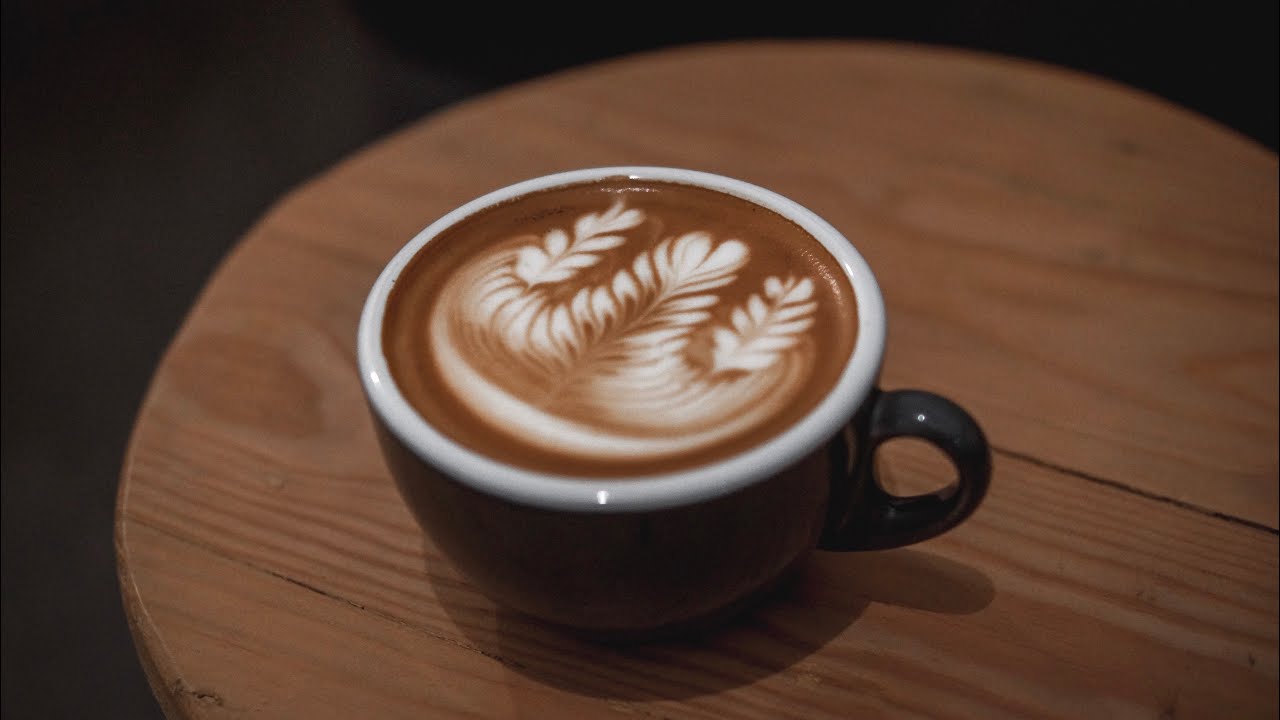
Multiple Rosetta
Several small rosettas arranged in a circle, requiring extreme control.
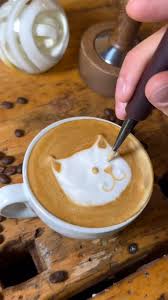
Etching
Technique that uses sticks to draw on the surface after the basic pour.
Let's learn more?